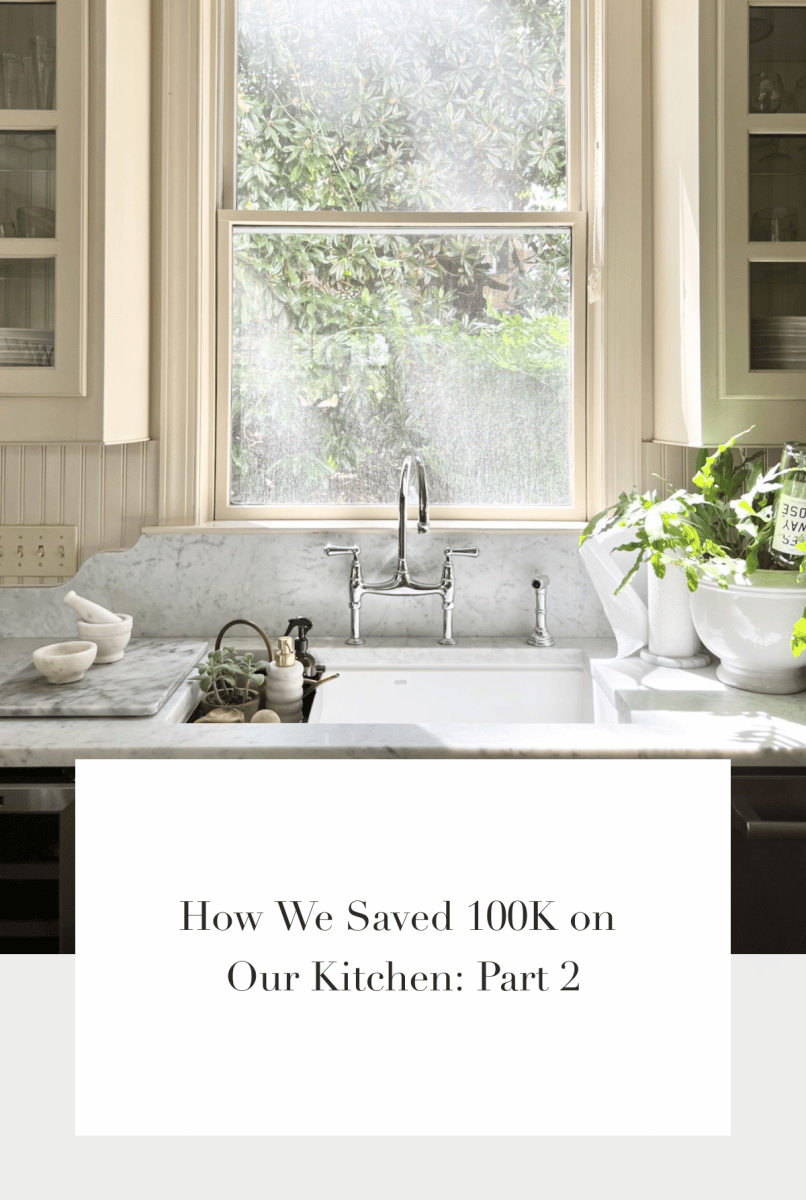
Continued from last week, read part one here…
We had just received our quote for new cabinets and then got the news that our appliances would be a year to a year and a half before we could expect delivery. The new appliances would have included a panel ready refrigerator and 48 inch freestanding range–not the kinds of things I can just switch out with what we have once they are delivered.
The idea of being in limbo for the next eighteen months in our kitchen, paired with the fact that I had just signed a two book deal and wanted to be able to photograph our kitchen starting in early 2023, was enough to make us take pause.
But the biggest factor in our decision to not move forward with a new kitchen was that we had just moved out of a fixer upper that had been in a constant state of fixing up for the past ten years. The thought of starting a huge project that would visually, functionally, and brain-occupyingly be in the works for a year and a half seemed detrimental to my mental well-being.
Chad suggested we reconsider doing a full renovation. I was angsty about it for an hour or so, but realizing I would have to wait so long for my dream kitchen helped me understand that my true goal was to have a beautiful, functional FINISHED kitchen ASAP.
Then I thought about what it could look like if I took my own advice:

Sometimes the right choice is the one that can be completed.
I needed to rethink how we could benefit if we worked with what we had and only changed some things. But change what? How could I do what I know, use what I have and actually finish?
So I thought about what we needed and decided on our goals.
It was important to me to have a highly functional kitchen that looked beautiful, was my style, and was photogenic. Plus, it needed to live up to the rest of the house, a well cared for Queen Anne – it’s the nicest house we’ve ever owned.
If we weren’t getting new everything, I wanted to spend the least amount of money to get the look and function we needed, but I also didn’t want to be cheap about it.
Who knows, in five years, once I’m done with the next two books, maybe appliances will be in abundance and we’ll decide to do a total renovation then. BUT, I also wanted to be mindful to make decisions that if we didn’t want to do a new kitchen in five years, we wouldn’t have to. Sheesh, right?
Decision 1: Keep the Cabs
The first decision was easy: keep the existing cabinets. I don’t hate them, which is an actual first from our experience of moving 15 times. Liking the cabinets was a surprise. They were in working order, some of the doors were loose and they needed to be painted, but they were sturdy, nice looking and in the right location.
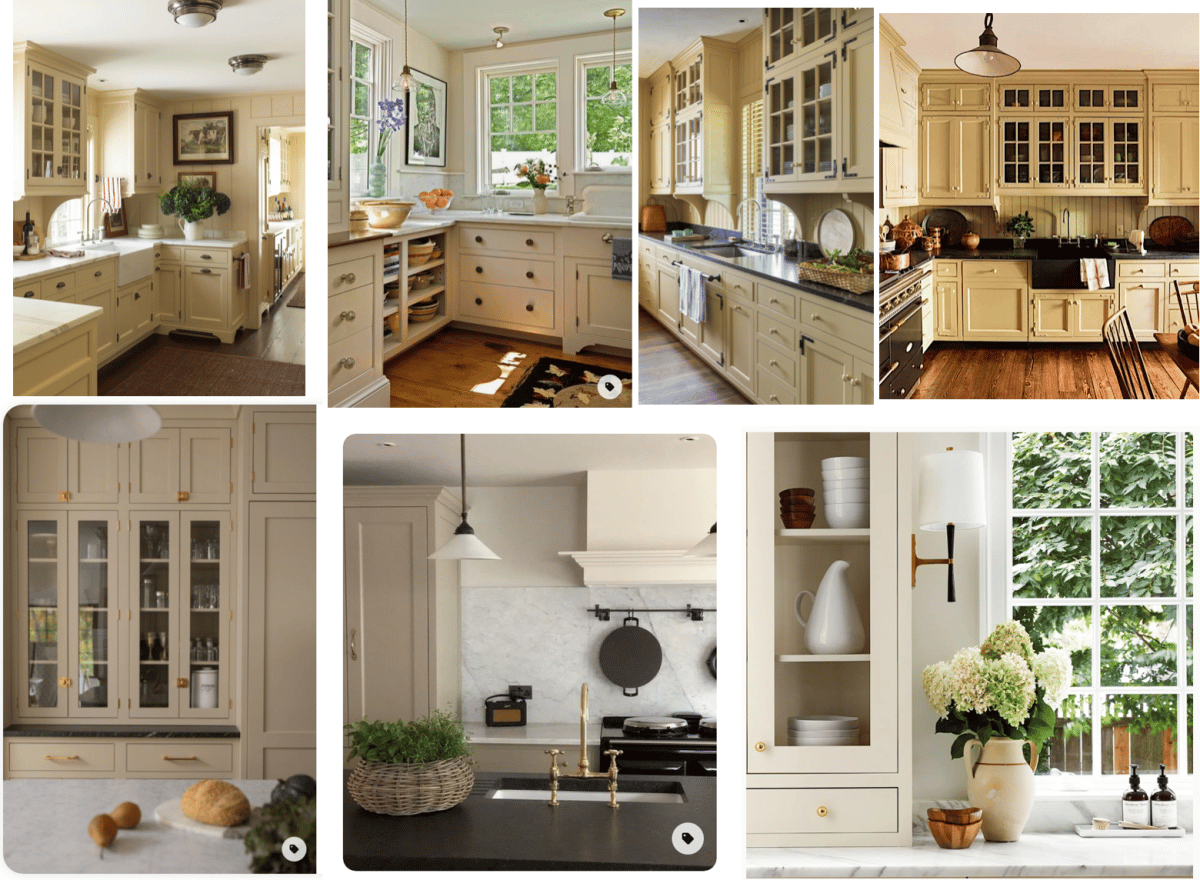
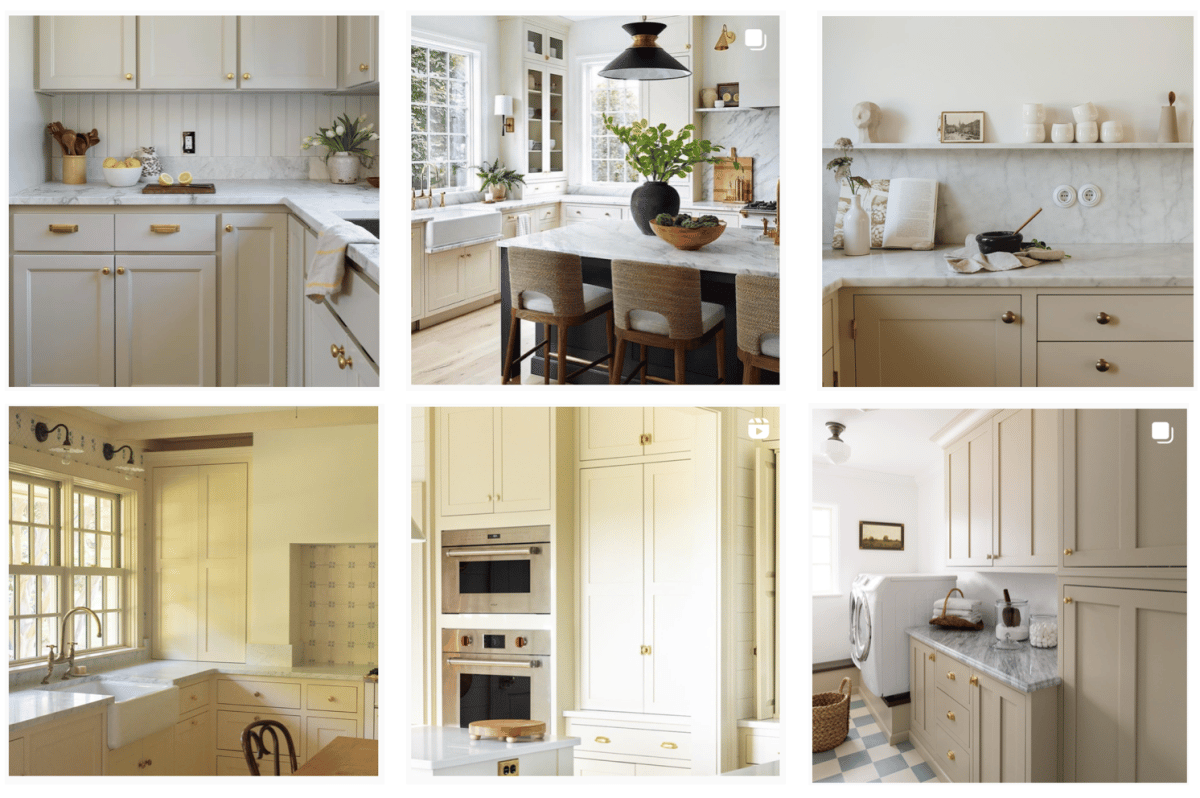
I’ve learned not to choose a paint color until other things in a room are complete so, I followed my Cozy Minimalist steps and decided to keep the paint color on the cabinets until the rest of the kitchen was complete and I had made all my other decisions. Plus, I noticed a very similar cabinet color show up in my pinboard time after time…
Decision 2: Reconfigure the Island
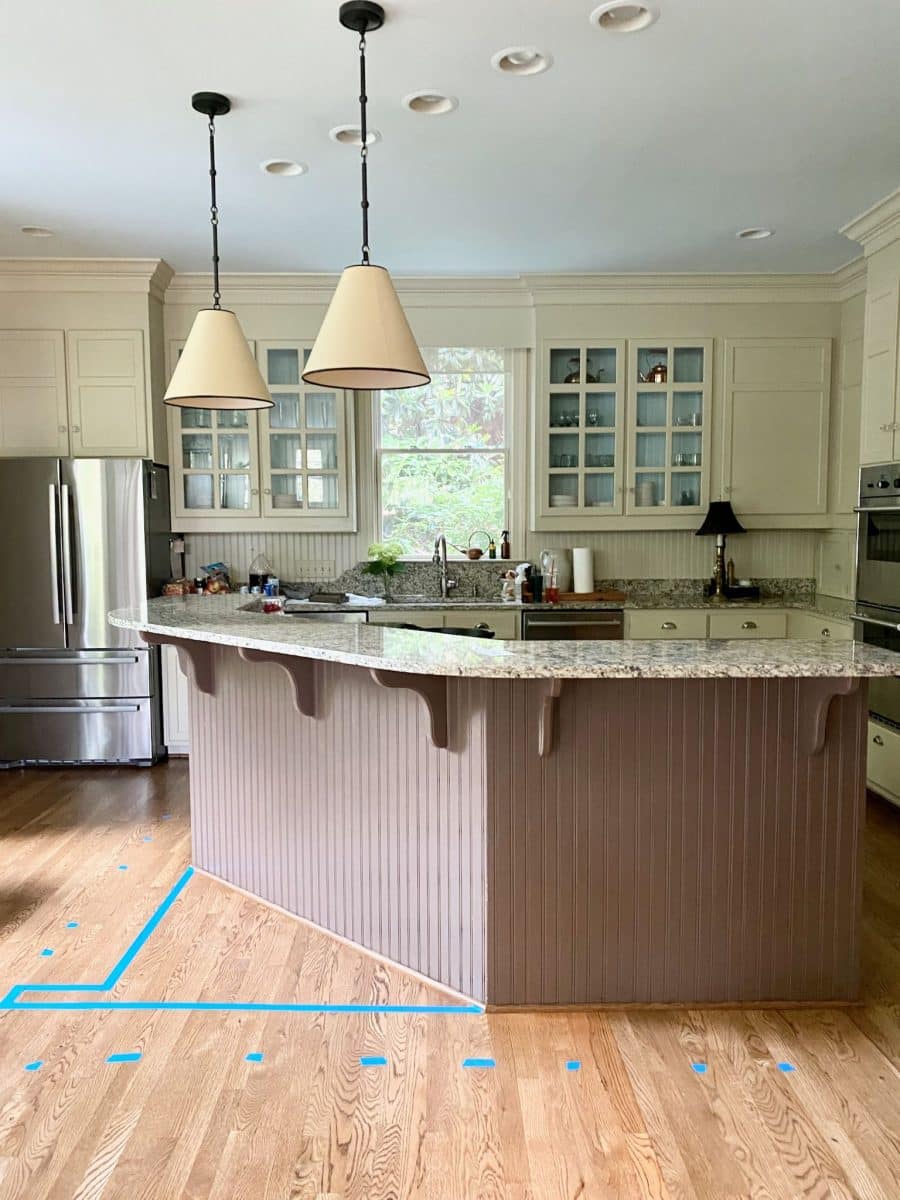
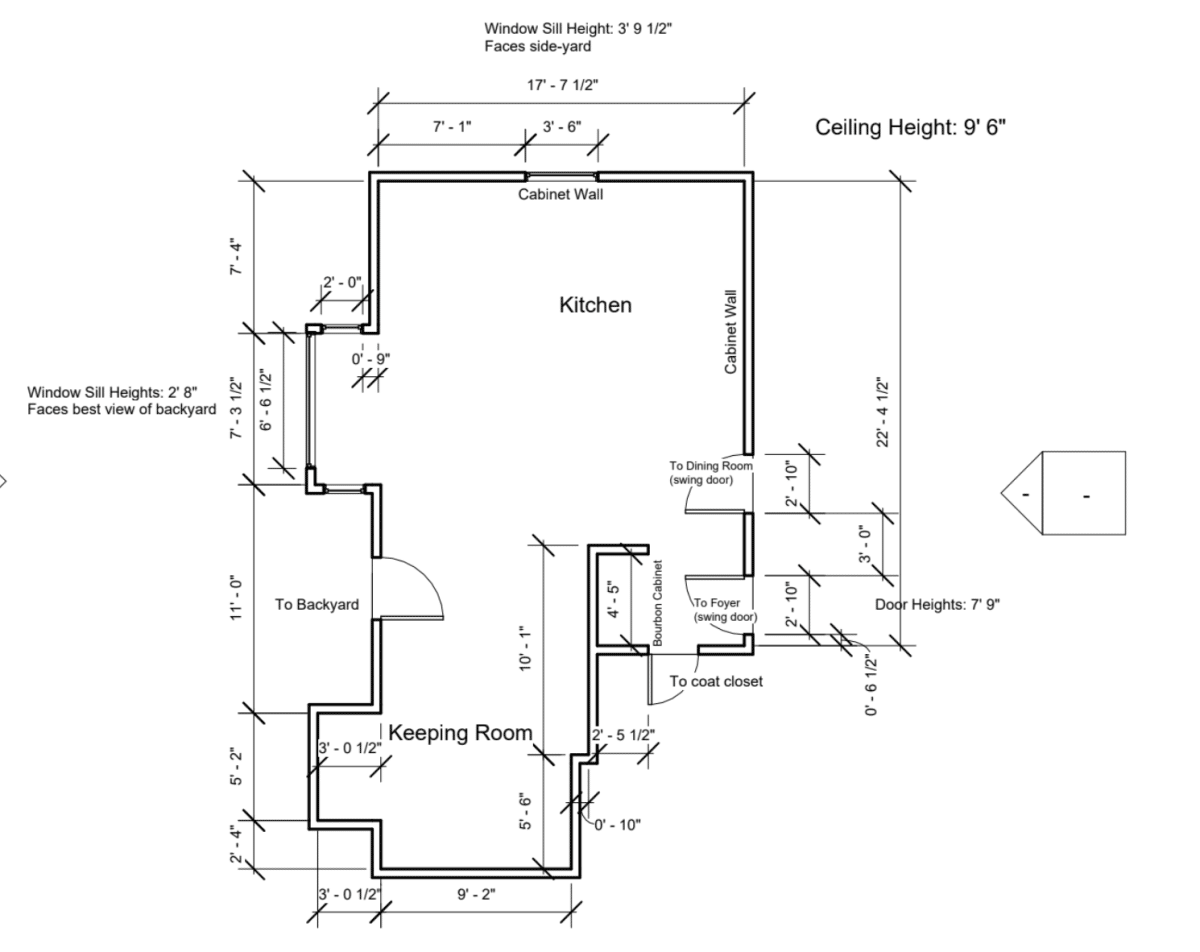
I don’t get along well with weird unexplained angles. This island was my nemesis. It was almost centered in the kitchen which was a huge relief, so going off of the sink, my goal was to create symmetry and have an island all on one level. You can see the new island shape taped off on the floor with the solid blue tape. At first I thought we’d need posts for support, but since the counters only had a 12 inch overhang (see the dotted tape line), we didn’t need them.
That weird place on the left there kept me up at night because it was the solution to my problems but it looked weird before the island was completed. I wanted the island to be symmetrical from at least one side, without the look of an “overbite” counter hangover off the top, so we brought the base out just on the front edge to create that symmetry. I can tell you from the future, it was the right decision.
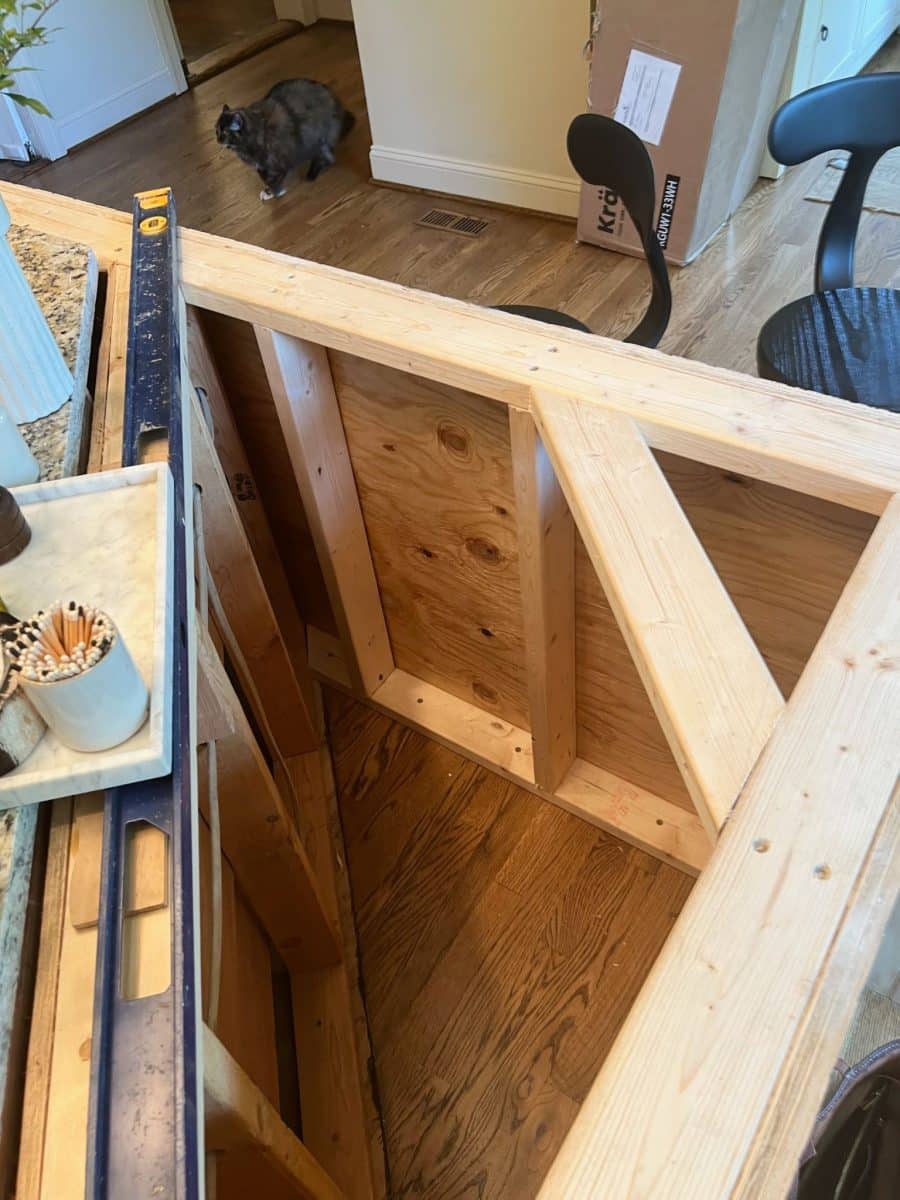
Reconfiguring the island was a quick two day job because we only changed the angle on the outfacing sides. The inside of the island, across from the sink stayed the same–I didn’t want to mess with moving any cabinets, the cooktop was there and truly, that was one place where the angle made sense. We cut off the bead-board and supports at counter height, removed the bar height granite piece, added support and new bead-board to square it off, then scheduled the countertops to be templated.
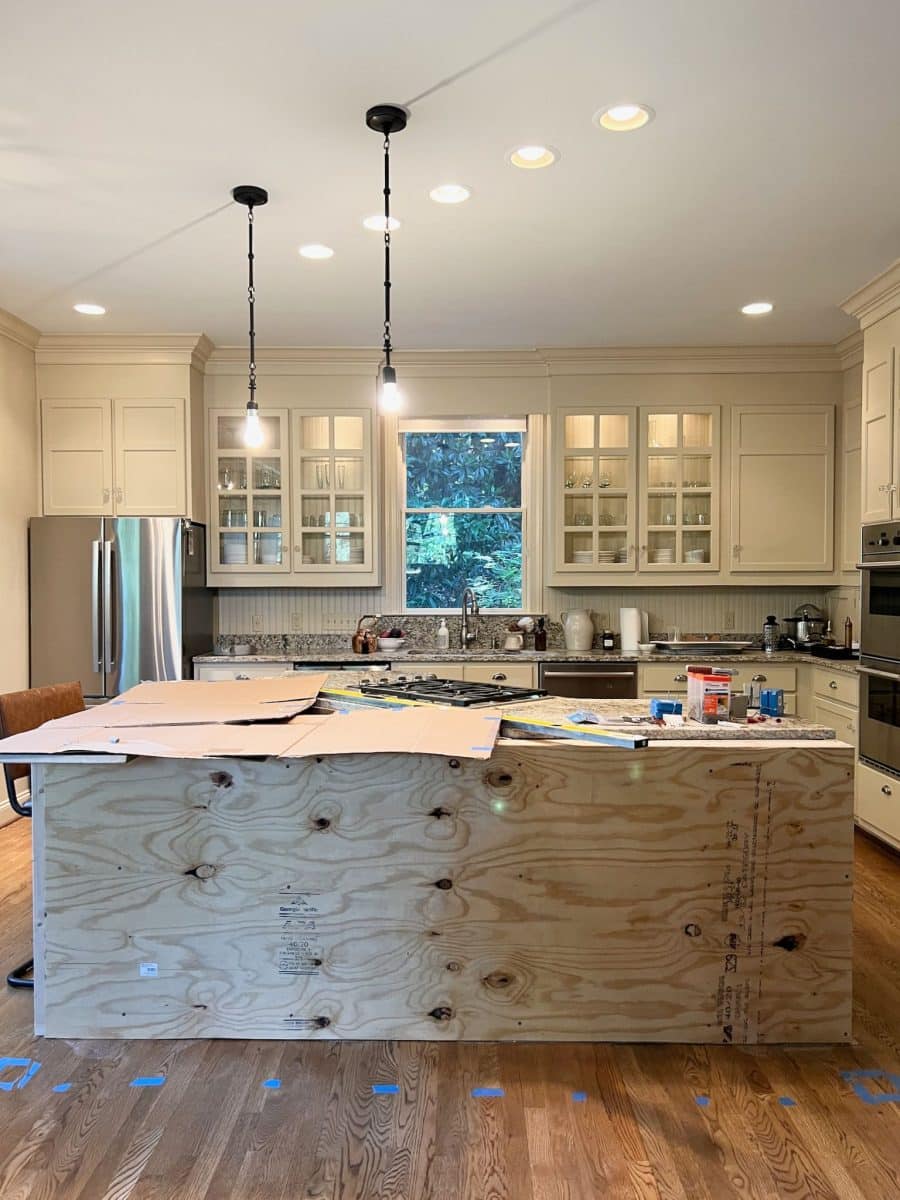
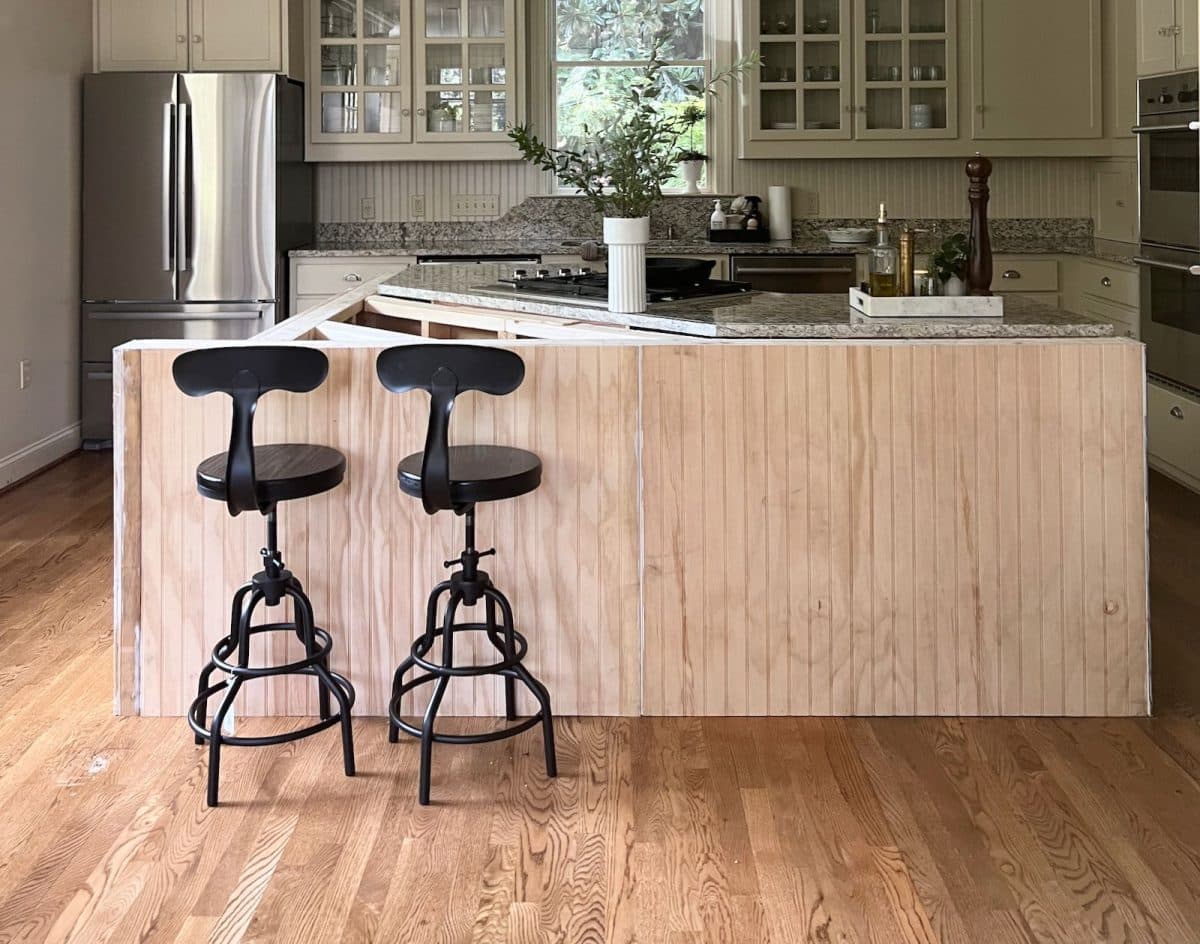
Let there be symmetry! That’s why we built out that left side and the dotted tape on the floor represents the counter overhang. The lower height is so much more welcoming and by squaring it off, we can fit eight barstools if we want – we doubled our surface area! I used flattened boxes to get a sense of the scale of the island. It’s about an 8×8, it’s huge for us!
We could have tried to create hidden storage in here, but we don’t really need it and I didn’t want to mess with it.
Although this was a viable option:

Next we added the bead-board. And it was time to call the countertop people.
Next week will be the third installment of our kitchen makeover (for now!). I’ll be sure to include all relevant links and sources, see you then.