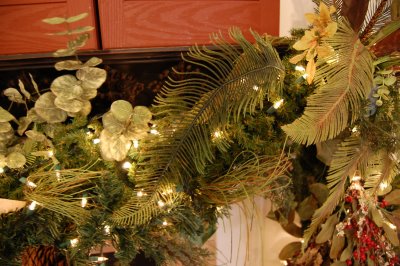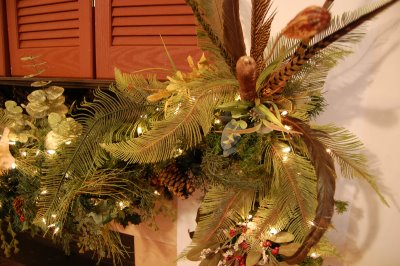
Ok, it’s finally here. I took my garland apart just so I could show you step by step how to think about making a fluffy, luxurious garland this year. I’d like to complain about it but, I secretly had a great time! I had over 30 photos and tried to whittle them down to a somewhat manageable post. I just know you all are gonna make the prettiest garlands EVER!
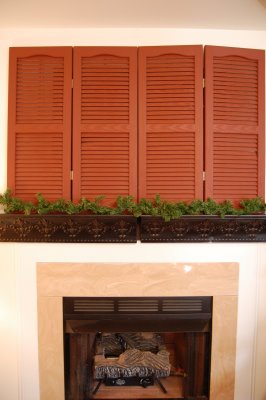
Do you have this perfectly acceptable but somewhat thin and boring garland?
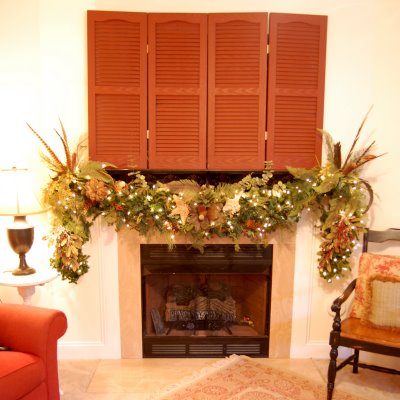
Do you want this perfectly obnoxious yet wonderfully captivating, so full glory and layers and dimension garland so much that you almost cannot stand it? Don’t have a fireplace? No worries, you can use this method for over your cabinets in the kitchen, down the center of your dining room table, hanging over a big mirror or entry way, up a stair case or on a sideboard.
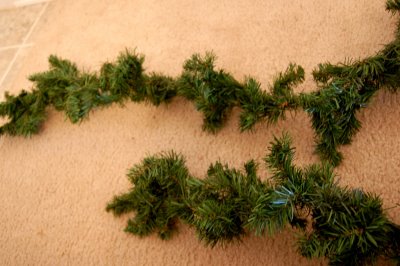
First, gather up all the skinny garland that you can find
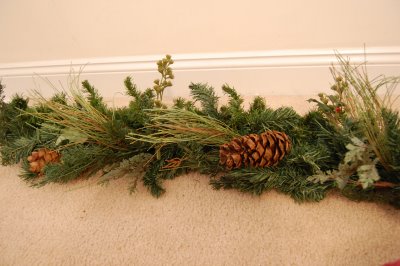
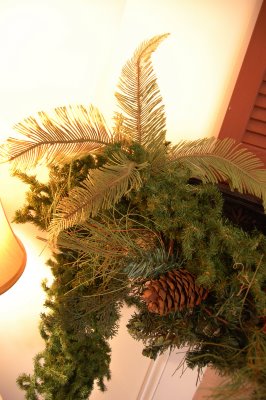
And then get you any other garland that you may have. I have this pretty garland that’s got pine cones and leafy stuff attached in it. You don’t have to have this but I think it helps. You almost cannot have too much garland for this project.
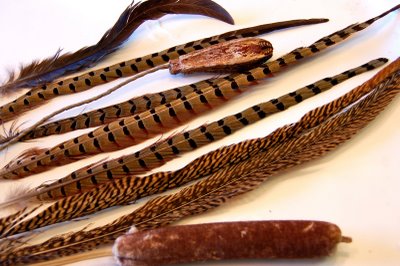
Search your house for any other stuff that you can use in your garland. There are NO RULES!!!! Maybe you have really pretty twigs in your back yard or non poisonous berries. Maybe you have boys that collect trains–you could add in toy trains or a collection of small gold frames. I like feathers…
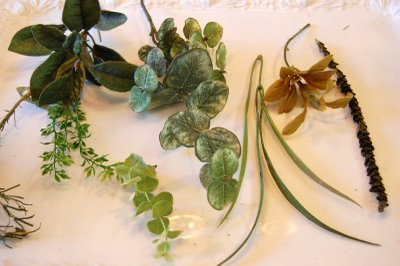 I’ve got a ton of this. Just greenery that I have collected over the years–it’s the same stuff that you’ve seen in my wreaths and centerpieces. I’m just not afraid to take things apart and use them in other projects. When I see good greens {I’m a P.O.O.P.I.E.} on sale, I grab some–sometimes yard sales even have stuff like this. I try to get greens that look realistic–remember the tip; real stuff has some yellow, brown, gold tones to it so don’t shy away from those colors.
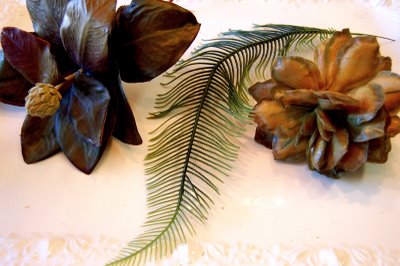
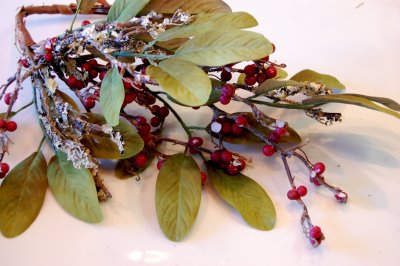
I like these too. I know, they aren’t Christmasy but that’s the trick. I want it to look somewhat alive and not all bright berries and sugared fruits. But, if you love bright berries and sugared fruits–they could look really great!
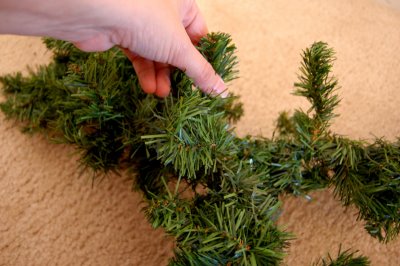
The main trick to this entire process is attaching your garland together. I start with two strands and make sure they are long enough to stretch more than the length of the fireplace. If your garland is short then just over lap the middles and attach them together leaving the ends skinnier. Does that make sense? So just start twisting those finger strands together every few inches until your two garlands become one. It doesn’t take very long and it makes a stronger bond than what you might think.
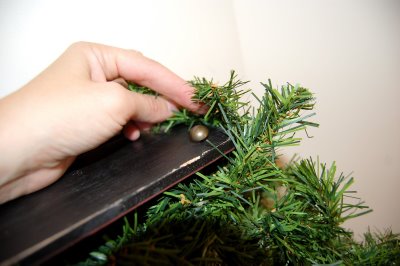
If you are attaching this to a mantle, you need you some nails, screws or upholstery tacks. I’ve been doing this for years and I’ve used all three. My favorite is the tacks because I just leave them up there all year an no one notices. Grab one or two secure strands of garland and just wind it around the nail and twist it onto another strand. This attaches the garland to the fireplace. Do that on both sides. This year I used two tacks on each side just to make it extra strong.
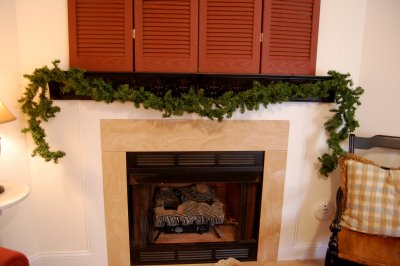
You should now have something like this. I don’t let mine droop too far at this point. It’s gonna get heavy and fall just right in the middle as you add more junk in. But, this is your base garland for everything else.
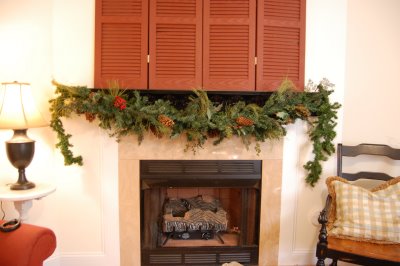
Next, I added in that fro fro piece of garland with the pine cones attached. Wow! What a huge transformation already! It was only long enough to sit right in the middle but we can fix that later.
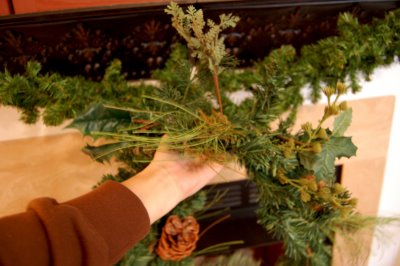
The way I do it is grab the center of the garland that I want to add into the base and hold it up to the center of the base garland and then start twisting the strands of garland together to secure them working my way out.
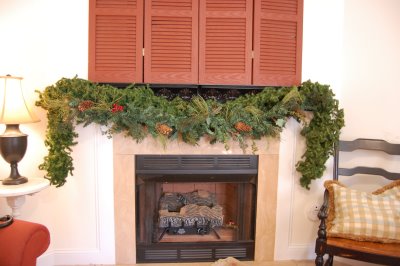
It still looked a little weak and I like my garland super hefty so I added a few more skinny garlands in to fill it all up. I think this is 3 or 4 skinny garlands, 1 pineconey garland and one fat garland that I got at a yard sale. Since I have enough garland to decorate the Biltmore Estate this adding of a zillion garlands was not a problem for me.
Nester SaysTry using more of your garland all in one place to create that “wow” effect instead of spreading it thin all over the house.
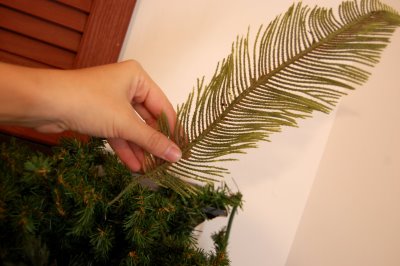
Now that you’ve got the entire garland base done, the fun part begins! Go ahead now and get you a strand or two on lights and wrap in there. Once the lights are on, you’ve got your basic garland done and this is the part you store and use year after year.
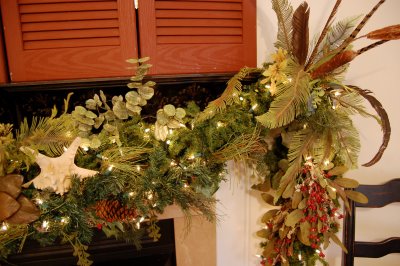
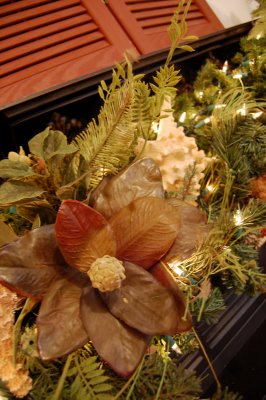
Here we go– I begin tucking in pieces of fern starting at the corners. No, I don’t glue it or wire it. If you have a really big real log fireplace and you worry that your fern parts will fall out you can dab them with a little hot glue. I glued mine in once but regretted it when I wanted to change it up. I’m all about the options and although I have had a piece of fern fall out on occasion, it’s never fallen into the fireplace. Decorating is so risky.
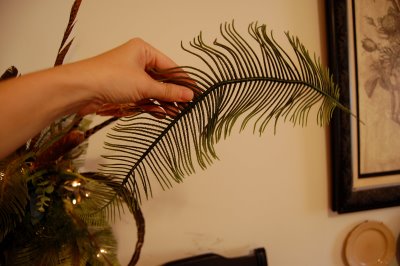
Keep adding all your favorite junk in…
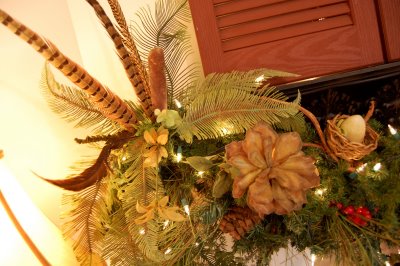 See how it’s coming together? I like to load it down. Just keep adding stuff. Thre’s no right or wrong. As long as you like how it looks. I focus on the two corners and then the middle and fill in from there.
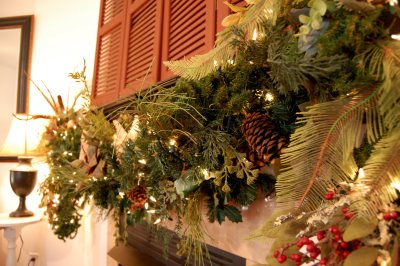
Stop the world, I see an empty spot with just naked garland showing. Oh the humanity.
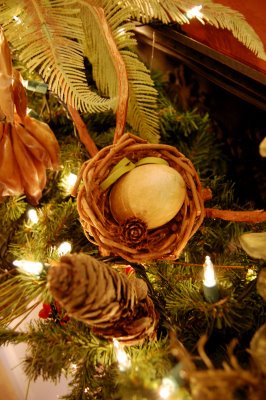
I always have to add in a nest. I look forward to all of your emails telling me that I’m only allowed to use nests in the spring.

Allrighty! I’m all done! You could stretch your garland all the way to the floor. This is the first year I’ve had blank wall behind the sides of my garland and it looks a little funny and out of proportion in the photo because I stood on the sofa to take it but in real life it’s fine. I cannot bear to take any more photos right now. Also, my tree will go right there on the left in about a week or so and that will help balance it.
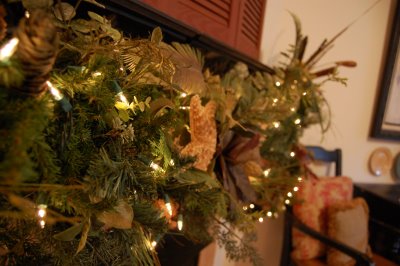
Remember, these are just guidelines. I want you to find stuff that you already have and use it. Try something out and play around with it. If you don’t like it, take it out. YOU get to decide if it looks good or not. I purchased nothing this year for this garland. I’ve been doing this for 10 years now and decorating my garland is my favorite part of decking my halls. After Christmas I take out all of the loose parts {starfish and fern things} and then just slide a clothes hanger on each end of the garland and hang it in the attic or garage. If the lights burn out, I just cut them out of the garland and tuck new ones in.
Questions? If I see a recurring question in the comments I’ll answer it there! PS, I am too lazy to proof read this so forgive me.
Similar Posts:
Garland: The Rest of the Story
Garland Roundup: See over 150 garland creations by readers!
Fake Take 2: P.O.O.P.I.E.S
Day Late Dollar Short: A Christmas Tour
A Renter’s Mantel
